

I cleared my cluttered counters by keeping only what I use daily—my coffee maker, utensils, and favorite spices.
Then I grouped these essentials on pretty trays to create calm zones.
I swapped boring containers for decorative ones and added a small herb plant and seasonal fruit for visual interest.
The rule of three (one tall item, one medium, one base piece) keeps things balanced.
Refresh seasonally by rotating accent pieces while maintaining your color palette.
Clear Your Kitchen Counters to Start Fresh
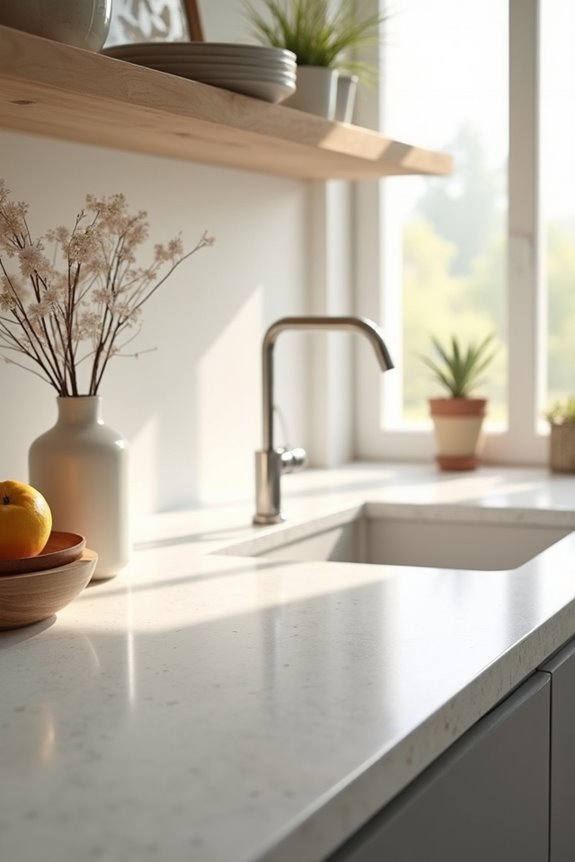
I created designated spots away from counters for mail, keys, and papers. This declutter step gives me breathing room. Now I keep only daily essentials visible—my coffee maker, cutting board, maybe one utensil holder. The result? A kitchen that feels calm and organized, not cluttered and overwhelming.
Keep Only Items You Use Every Day
I’ve learned the hard way that keeping my counters clutter-free means being honest about what I actually use—so I identify my daily essentials like my coffee maker, utensil holder, and frequently used spices, then remove anything that doesn’t earn its counter real estate. Once I’ve narrowed down what stays, I upgrade to prettier versions of these necessities, like a decorative canister for sugar or a nice soap dispenser, which makes me want to keep them out. The key is that every item on my counter should either work hard for me every single day or look good enough to justify taking up that precious space.
Identify Your Daily Essentials
What’s actually sitting on your counters right now that you touch multiple times a day? I’m talking about the real stuff—not that fancy gadget you used once in 2019. When I cleared my counters, I realized I only really needed a few things displayed:
- Coffee maker (my lifeline, honestly)
- Utensils in an attractive holder
- Cutting board for prep work
These everyday items deserve prime counter real estate because I use them constantly. I grouped my coffee maker with a small container of beans and mugs on a decorative tray—it looks organized, not cluttered. This display approach combines practical benefits with style. By identifying what I actually touch daily versus what I just assumed belonged there, my counters changed for the better. Now my space feels like it reflects how I actually live.
Remove Non-Functional Items
The counter clutter I couldn’t see plainly was actually the problem—I’d gotten so used to things sitting there that I stopped questioning whether they belonged. So I took a hard look and asked myself: Do I use this daily?
That’s your filter for counter decluttering. I kept my coffee maker, utensils, and daily spices. Everything else? Gone.
| Item | Keep or Store? |
|---|---|
| Stand mixer | Store in pantry |
| Daily spices | Keep on counter |
| Slow cooker | Store in closet |
About functional arrangements: group your daily essentials on trays with practical design in mind. I arranged salt, pepper, and oils together. It looks organized, not chaotic.
For appliance storage, your pantry becomes your friend. This countertop organization strategy creates breathing room and makes cooking easier. Less stuff means more space to work.
Choose Aesthetically Pleasing Versions
Now that you’ve cleared your counters down to just the daily essentials, here’s where the real fun starts—making those remaining items actually look good.
I’ve learned that upgrading your everyday items improves your entire kitchen vibe. Here’s what I do:
- Swap boring containers – I use decorative canisters for sugar and glass containers for coffee and flour. They’re functional and visually appealing.
- Corral with intention – I group items on trays or baskets so nothing looks scattered. It’s like giving your essentials a home.
- Display strategically – I lean a wood cutting board against the backsplash or showcase a few attractive jars for visual interest.
The key? Pick items that coordinate with your kitchen’s colors and materials. When everything works together, you’ve got a space that’s both practical and visually cohesive.
Organize Kitchen Counter Items With Trays and Baskets
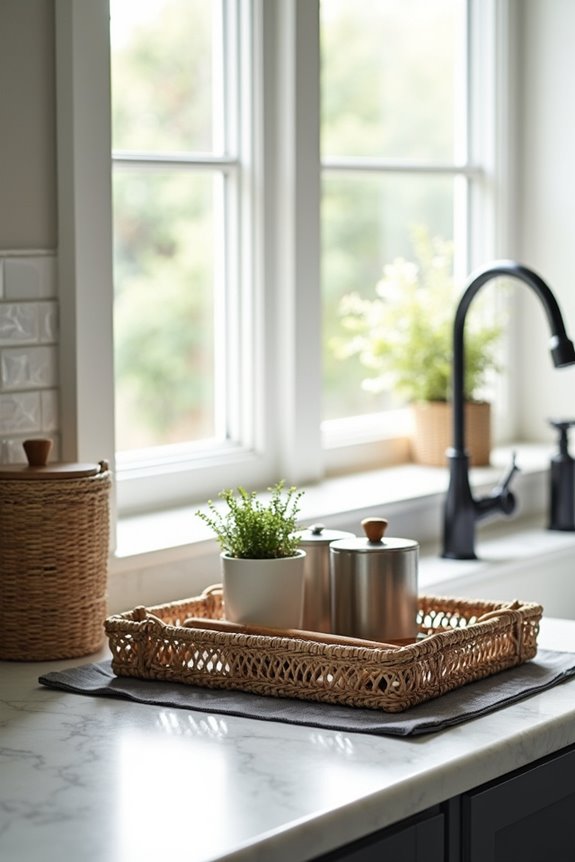
One of my favorite kitchen counter hacks? Using trays to organize clutter into organized groupings. I’ve discovered that grouping three to four similar items on a single tray creates more visual impact than scattering them everywhere.
Grouping three to four similar items on a single tray creates more visual impact than scattering them everywhere across your counters.
I keep one tray by my stove holding salt, pepper, and oils—a functional zone that looks organized. Another sits by the sink with my sponges and brushes. It’s changed how my counters look.
The key is choosing trays that match your countertops. Wood coordinates with warm surfaces, marble with cool ones, and metal works almost anywhere. Your organized counters suddenly feel designed rather than cluttered.
These trays pull double duty too—they’re practical organizers and beautiful serving pieces when guests arrive. That’s the kind of kitchen hack I genuinely appreciate.
Remove Appliances and Tools You Don’t Use Daily
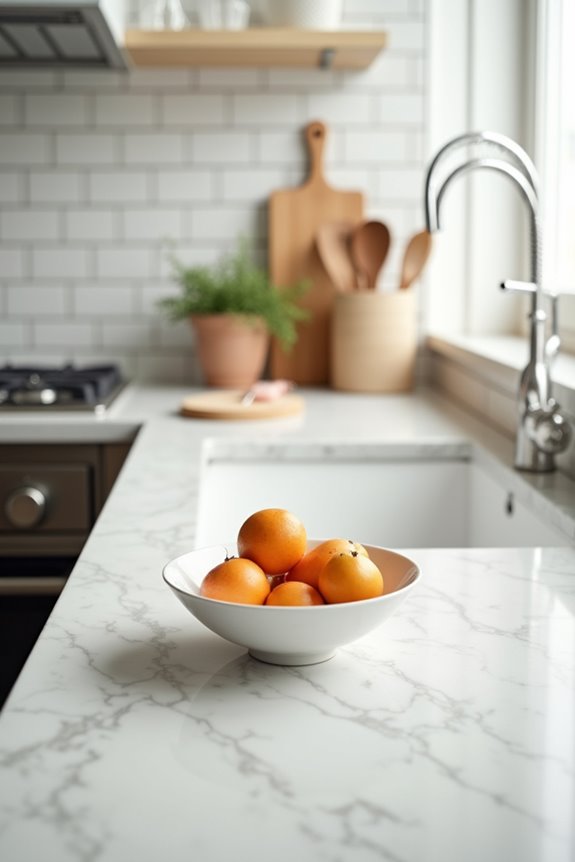
How many appliances are actually gathering dust on your counters right now? I used to have at least five taking up valuable real estate, and honestly, it was ridiculous. Let me share what I’ve learned about reclaiming that precious space.
Here’s what I moved into hidden storage:
- Bread makers and slow cookers that I use monthly at best
- Specialty gadgets like waffle makers gathering clutter
- Extra blenders and coffee makers I didn’t need
I kept only my daily essentials visible—my go-to coffee maker, cutting board, and knife block. Everything else? Relocated to the pantry, closet, or garage. This simple declutter improved my kitchen. Now I’ve got counter space for actual cooking prep, and my kitchen feels calmer instead of chaotic. Meal prep becomes easier when you’re not dodging appliances.
Upgrade Everyday Essentials to Match Your Style
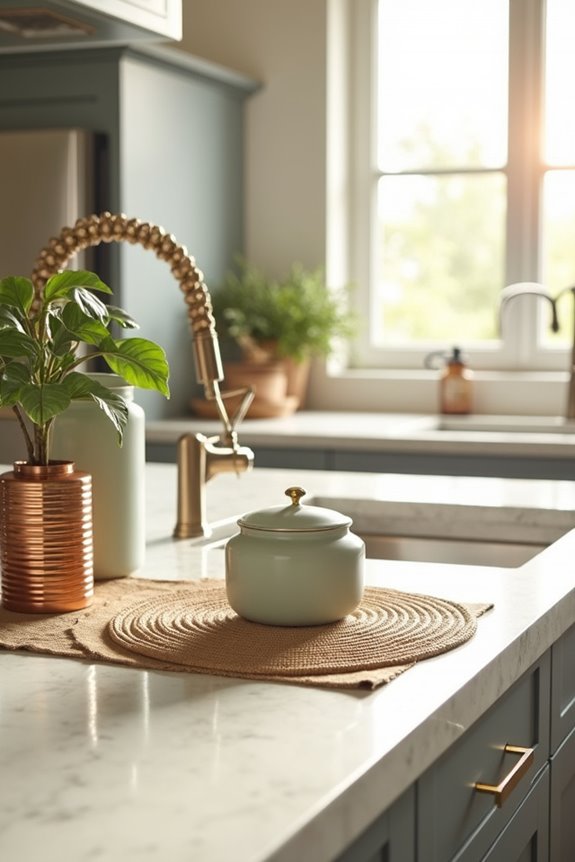
Once I cleared away the clutter, I realized my counters still looked bare. That’s when I started replacing everyday essentials with versions that matched my aesthetic. I swapped my generic soap dispenser for one I preferred and replaced boring pepper shakers and utensil holders with attractive alternatives.
I invested in decorative containers for my sugars and dry goods, which made the kitchen feel more organized and intentional. Adding fresh flowers in a nice vase brought life to the space. I even displayed decorative copper pots near my stove for both function and visual appeal.
The key? I focused on consistency by matching materials like wood and marble. These useful tools weren’t just attractive—they still worked perfectly. Suddenly, my kitchen felt like mine.
Divide Your Counters Into Styling Zones
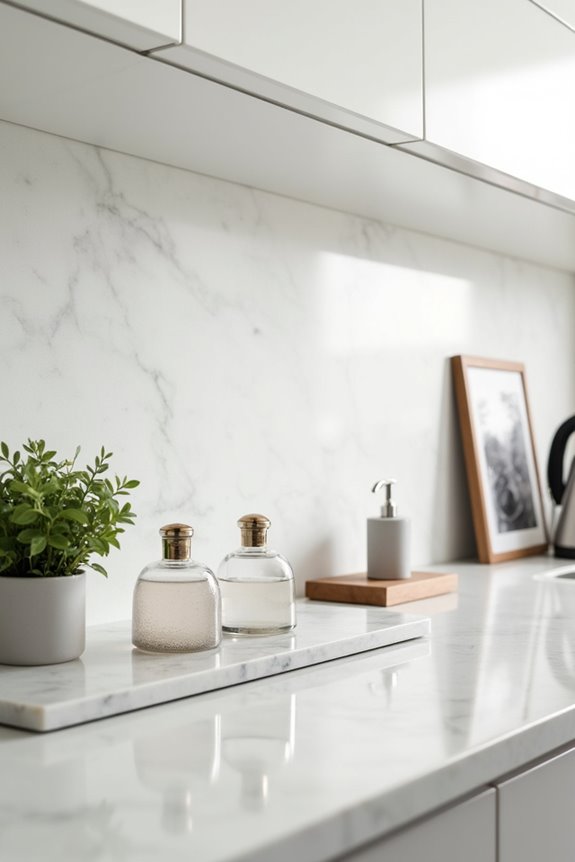
With my essentials now matching my style, I realized I still needed a real plan for how to arrange everything. That’s when styling zones made a difference for me.
I started by grouping related items together on trays or bases. This kept my countertops organized and looked purposeful.
Here’s what worked best:
- Create a coffee station tray by the stove for mugs and beans
- Place a sink-side tray for sponges and soap within arm’s reach
- Use max three colors per zone to keep things calm
I varied heights too—tall candles next to mid-sized bowls, canisters down low. This vertical variation gave my kitchen visual interest and balance.
The result? I finally felt like my kitchen was mine. Declutter first, then let each zone breathe.
Apply the Rule of Three to Every Grouping
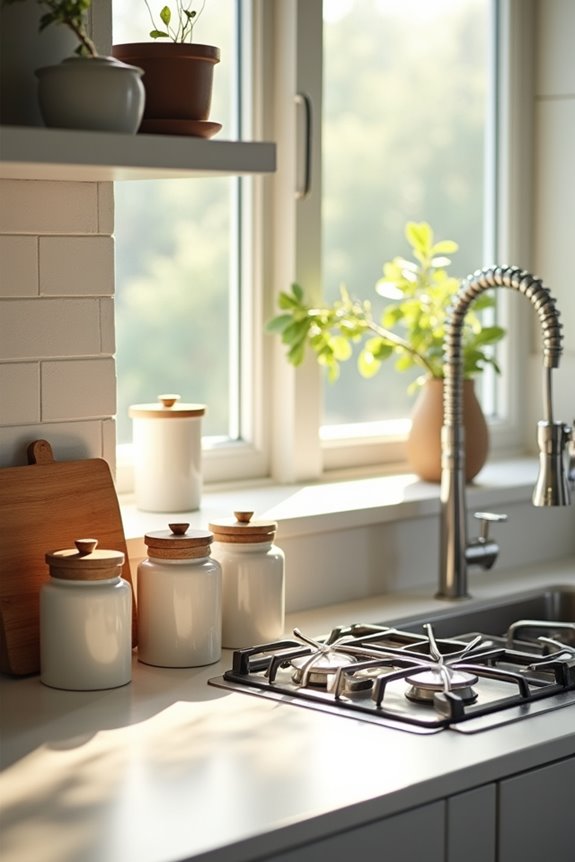
Why do some kitchen counters look pulled together while others feel chaotic? I’ve learned it’s all about the Rule of Three. I group items strategically—one tall piece, one mid-level cluster, and one functional base. This simple formula creates a clutter-free vignette that actually breathes.
Here’s my approach: I pick three items maximum per grouping. Then I choose a color palette of two to three colors to tie everything together. It sounds restrictive, but honestly? It’s liberating. I’m not agonizing over placement anymore.
For example, I’ll pair a tall plant with a short candle and a cutting board below. Each piece serves a purpose while looking planned. You’ll feel that calm, collected kitchen energy you’re after. The Rule of Three makes counter styling manageable and achievable.
Decorate With Greenery and Seasonal Fruit
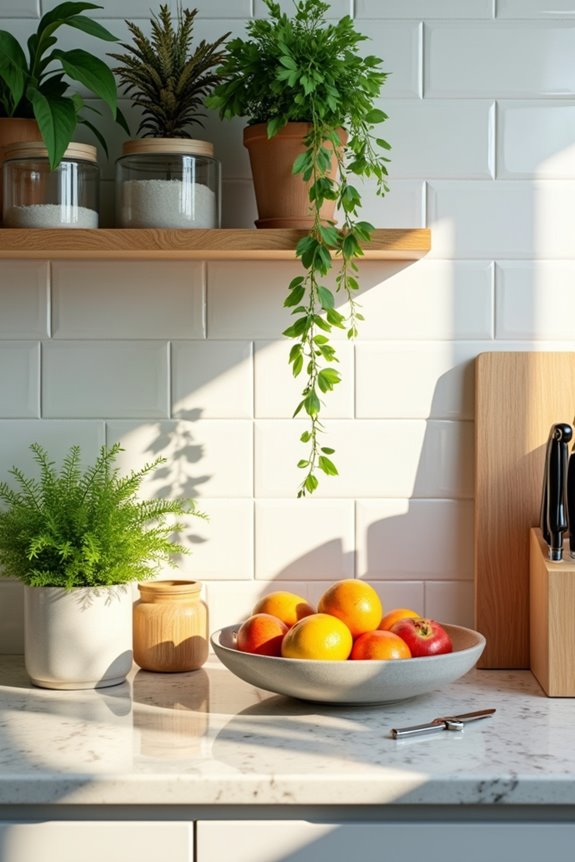
I’ve found that adding fresh herbs in small pots or a vase of seasonal flowers makes my counters feel alive and purposeful, not just cluttered with stuff. I like to display seasonal fruit—like bright lemons in winter or colorful peaches in summer—in a nice bowl next to my plants, which gives me both visual interest and something I’ll actually use. Rotating these items every few weeks keeps things feeling fresh without me having to completely redesign my space, and it’s easier than it sounds.
Fresh Plants and Herbs
Looking for a simple way to make your kitchen feel fresher and more alive?
I’ve discovered that fresh plants and herbs improve my kitchen counters right away. They soften hard surfaces and make everything feel more welcoming—it works better than you’d expect. Here’s what works for me:
- Pick a small potted herb like rosemary or basil for both looks and cooking
- Choose a dedicated planter that keeps your workspace clear and organized
- Combine greenery with seasonal fruit to add color and texture
I’ll admit, I’ve killed plants before, so I now mix real herbs with high-quality faux greenery when life gets hectic. The key is creating a point of interest without overwhelming your counters. A single well-placed planter does more than you’d think, making your kitchen feel purposeful and cared-for.
Seasonal Fruit Displays
Once you’ve got your herbs and greenery settled in, it’s time to add another layer—actual fruit. Using seasonal fruit as counter decor works well because it’s both beautiful and practical. Grab lemons, pomegranates, or peaches depending on the season and toss them into a bowl or basket.
Vary your vessels. Use antique wood, colorful ceramics, or marble to create texture and depth. Then pair the fruit with greenery—fresh herbs or small plants soften the whole look and tie everything together into one cohesive arrangement.
Follow the rule of three by grouping your fruit bowl with a small plant and something decorative. Rotate seasonally to keep things fresh. Minimal decor prevents clutter while maintaining that lived-in feel.
Build Dimension by Layering Heights and Textures
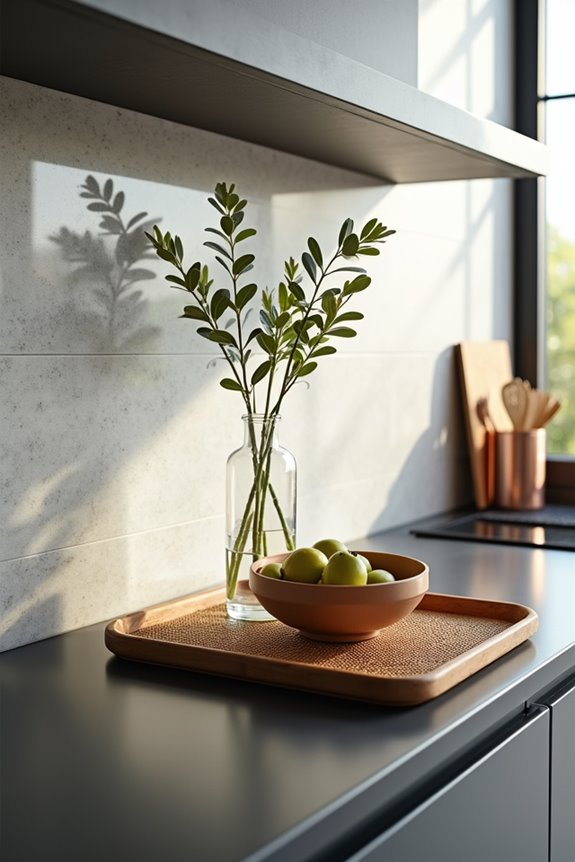
Why do some kitchen counters look so effortlessly pulled together while others feel either too bare or chaotically crammed? The answer lies in layered heights and textures—a straightforward approach that creates visual interest on a flat surface.
Here’s what works:
- Vary your vases and holders – Stack upright cookbooks next to ceramic vessels to build natural elevation
- Choose a strong centerpiece – A sculptural bowl or antique piece anchors everything around it
- Rotate seasonal decor – One pumpkin in fall or lemon in summer keeps things fresh
The method is placing smaller items up top, medium pieces in the middle, and larger functional items at the bottom. This directs your eye naturally and prevents visual chaos. Textures matter—mixing smooth ceramics with rough wood creates visual interest that prevents your countertop from looking cluttered or haphazard.
Refresh Your Counter Styling Seasonally
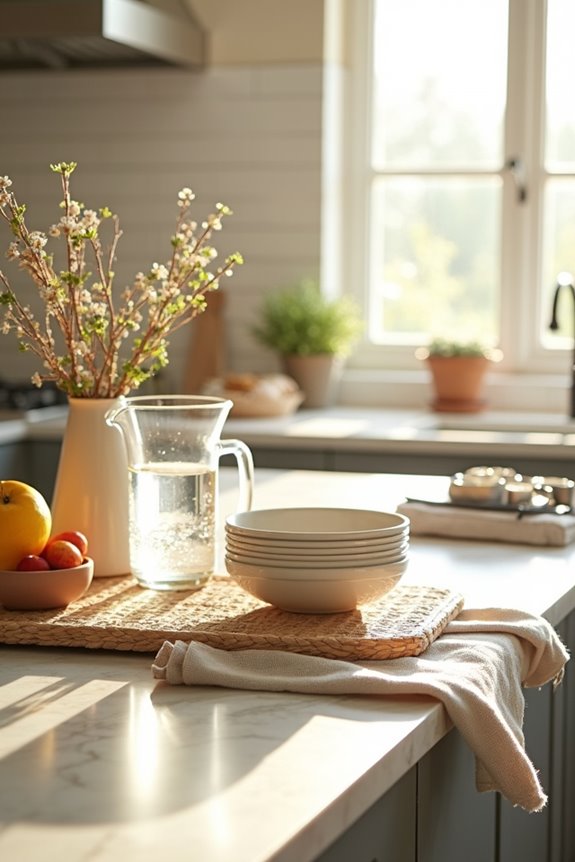
Now that you’ve got your heights and textures working together, seasonal swaps keep your counter fresh. Seasonal décor doesn’t mean overhauling everything—just adding one thoughtful item like pumpkins for fall or lemons for summer maintains interest without overwhelming your counter.
Stick to a two or three color palette throughout the year, which makes swapping easier. Your counter vignette stays balanced: tall item on top, middle group in the center, larger piece below. Refresh your display by rotating accent pieces—trays, vases, books—while keeping daily-use items accessible.
Real or faux greenery softens everything effectively. It’s a reliable tool for making any season feel deliberate and cohesive without the clutter.