I’ve discovered that 100% silicone caulk addresses bathroom moisture problems by creating airtight seals.
You’ll strip old caulk, prep surfaces with isopropyl alcohol, apply fresh sealant at 45-degree angles, then wait 24–48 hours before showering.
It’s straightforward—I tape both sides for crisp lines, smooth with my finger, and let ventilation do the work.
Quarterly inspections catch problems before they become costly repairs, and recaulking every 5–10 years keeps everything watertight and mold-free.
Why 100% Silicone Caulk Is Best for Bathrooms
Why does your bathroom caulk always seem to crack and get moldy after a year or two? I’ve been there, frustrated after watching my bathroom sealing fail. That’s why I switched to 100% silicone caulk, and it’s been effective.
Unlike other options, silicone caulk creates a waterproof seal that actually handles bathroom moisture without falling apart. I appreciate that it stays flexible, moving with temperature changes so cracks don’t form. Plus, the mold resistance is real—those anti-fungal additives keep my grout lines clean longer.
When I’m applying a caulk bead with my caulk gun, I know I’m using a bath/shower-rated sealant made for high-moisture areas. Sure, it’s not paintable, but the durability compensates for it. After caulk removal and reapplication, I’m finally getting lasting results. That’s worth the trade-off to me.
Which Bathroom Areas to Caulk (And Why)?
Now that you’ve got your 100% silicone caulk ready, you’re probably wondering where exactly to use it—and honestly, I used to slap caulk everywhere and hope for the best. Big mistake. Let me share the bathroom areas that actually need your attention.
Here’s where your silicone sealant works best:
- Your tub/shower enclosure prevents water from sneaking behind tiles and causing hidden mold
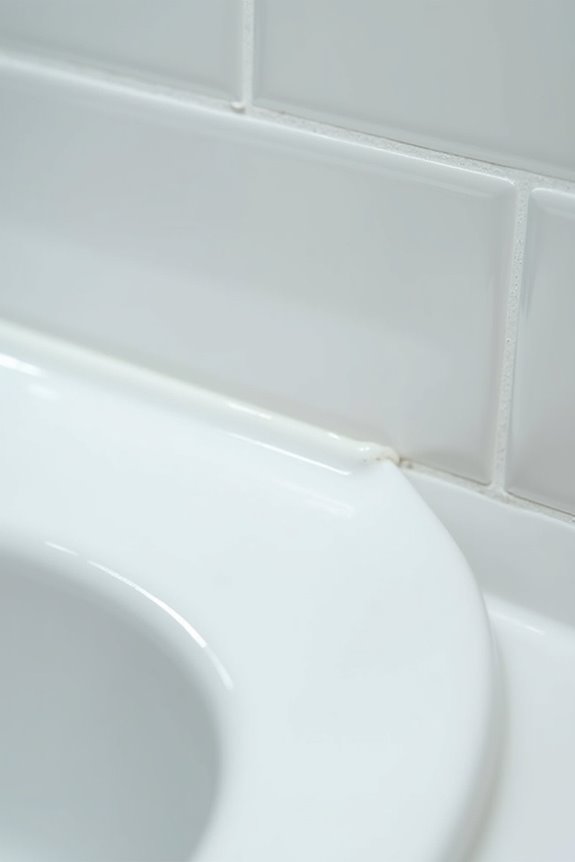
- The sink-countertop joint stops water seepage that ruins cabinets and flooring below
- Your toilet base keeps moisture and debris from collecting underneath, protecting floors
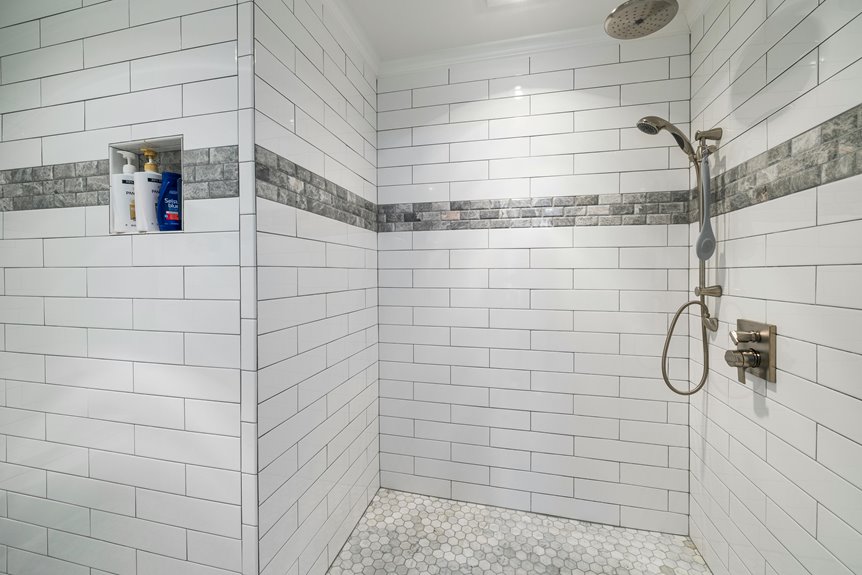
I also caulk baseboards and joints on all bathroom surfaces. These spots are where water loves to hide. Proper caulking gives you mold resistance, waterproof protection, and honestly, peace of mind knowing your bathroom is actually protected underneath.
Strip Out Old Caulk: The Foundation for a Perfect Seal
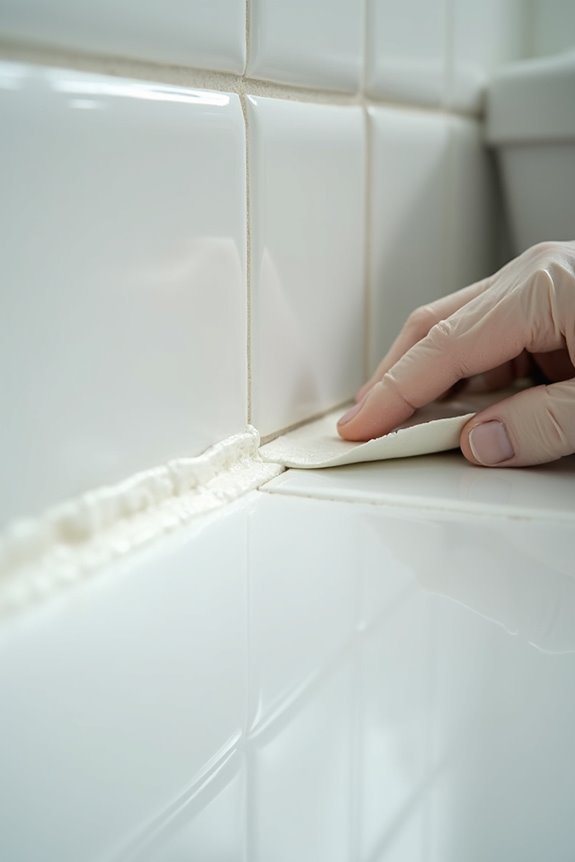
Before you even think about squeezing fresh caulk into those joints, you’ve got to remove the old stuff—and I’m not talking about a quick wipe-down. I’ve learned the hard way that skipping proper caulk removal leads to trapped moisture, mold prevention failures, and a poor seal.
Grab a sharp utility knife or caulk removal tool and scrape away the old caulk down to the original substrate. If it’s stubborn—and honestly, it usually is—apply caulk softener gel to loosen things up first. This bathroom prep step saves you serious frustration.
After removal, wipe everything clean with isopropyl alcohol and a rag to eliminate residue completely. Then wait until the surface dryness is right before applying your silicone sealant. This proper adhesion foundation is what matters for longevity.
Prepare Surfaces for Professional Results
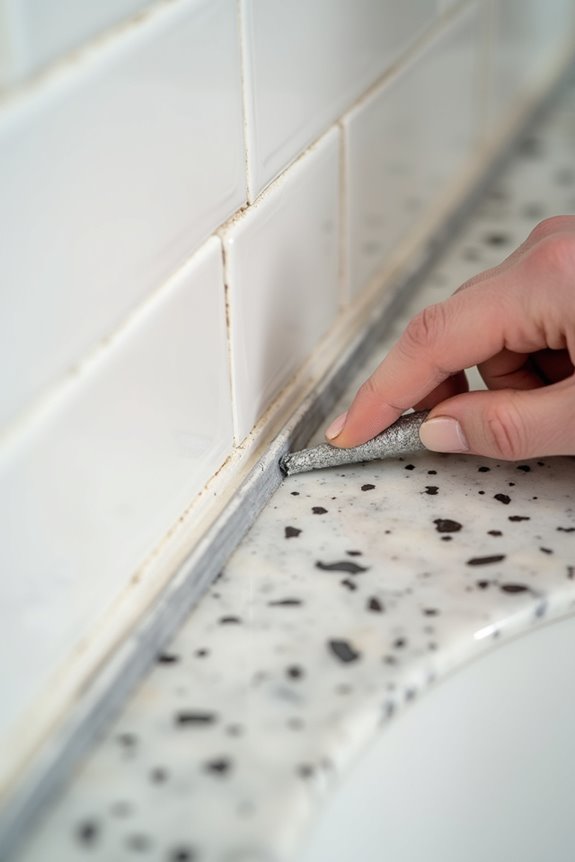
Once that old caulk is out of the way, you’re standing at the real turning point—because even the best new sealant won’t stick to a dirty, damp surface.
I’ve learned this the hard way. Here’s what I do now for solid results:
- Clean with a mildew-resistant bathroom cleaner to banish grime and prevent future mold growth
- Dry everything completely—moisture is your enemy and ruins adhesion
- Use isopropyl alcohol to wipe surfaces for maximum bonding power
Next, I apply painter’s tape on both sides of the joint. This creates crisp, straight lines that look professional. Then I grab my 100% silicone caulk formulated specifically for kitchens and baths. This bathroom caulking choice resists mold and mildew in our humid environment. Surface preparation takes patience, but it’s what delivers lasting results.
Apply Your Silicone Caulk: Technique and Execution
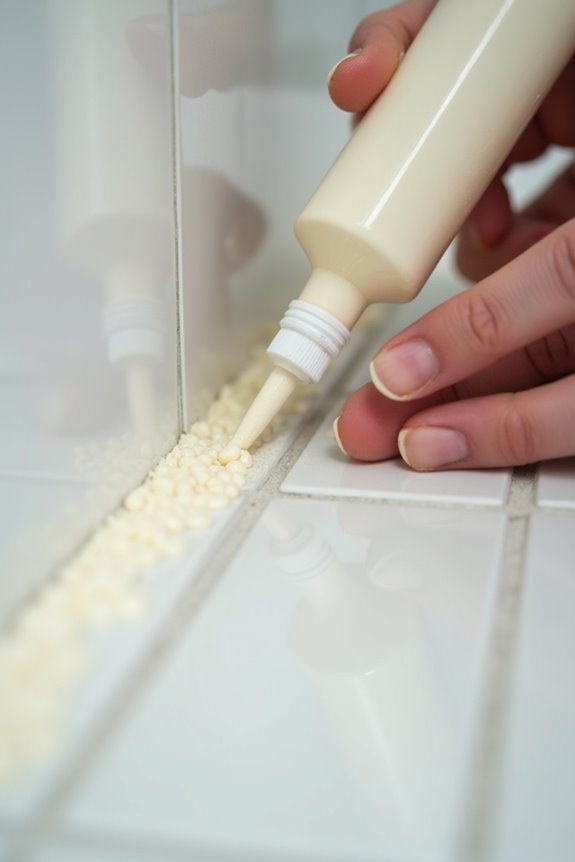
Getting your caulk gun loaded and ready requires proper setup. First, I cut the tube tip at a 45-degree angle around the 1/4-inch mark, then punctured that inner seal. Loading it into the gun felt awkward initially, but the process becomes easier with practice.
Here’s my caulking technique: I hold the gun at 45 degrees and apply steady pressure, working from a corner outward along each bathroom seam. I keep my caulk bead consistent by using painter’s tape on both sides—this produces crisp lines.
Before smoothing, I use a finishing tool or damp finger to create that uniform shape. Then comes patience: I let my silicone caulk cure fully, typically 24–48 hours, allowing moisture resistance before any water exposure.
Perfect Your Bead: Smoothing Techniques
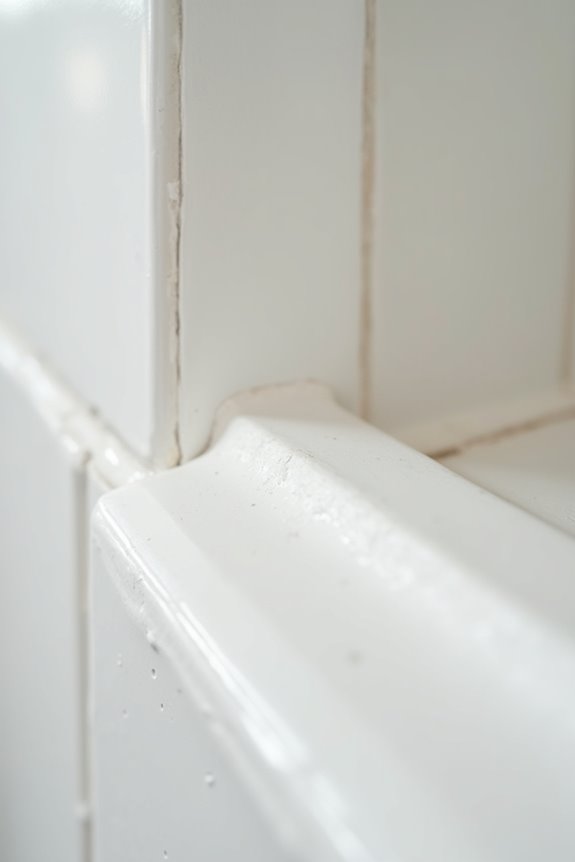
Now comes the part where I actually make my caulk look professional—the smoothing—and I’ll be honest, this is where I’ve messed up plenty of times before figuring out what works. I’ve got three main approaches that’ll create clean results: using my finger with soapy water for that water-shedding curve, grabbing a tool for crisper edges, or slapping down painter’s tape on both sides for the sharpest lines. The key trick I’ve learned is to start smoothing right away, before the caulk starts to skin over, because waiting even a few minutes means I’m pulling the stuff away from the edges instead of creating a smooth line.
Finger Smoothing Method
Want to know the key to professional-looking caulk that actually stays put?
I’m talking about the finger smoothing method. Here’s what makes it work:
- You’ll feel in control as you guide the bead with your own hands, creating that satisfying concave profile
- Your bathroom stays protected from water damage and mold prevention when you nail those uniform lines
- You’ll join the ranks of DIYers who actually finish projects that look intentional, not accidental
Dip your finger in soapy water before smoothing your caulk bead. Draw it along the drywall joint in one continuous motion, maintaining even pressure. Re-wet as needed to prevent dragging. One smooth pass beats multiple attempts every time. Wipe excess with a damp cloth immediately. Pair this smoothing technique with the tape method for crisper results. Your bathroom will thank you.
Tool-Based Finishing Techniques
Three finishing tools can help you achieve professional-quality caulk work. A caulk gun at a 45-degree angle with steady pressure gives you that even bead, but the real technique lies in what you do after the caulk comes out of the gun.
I’ve found the tape method highly effective for crisp, clean edges. I apply masking tape on both sides of my seam, lay down the caulk, then peel the tape away while it’s still workable. For corners, I mound extra caulk at junctions and use a finishing tool to blend everything smoothly.
The finger method works too—I dip my damp finger in soapy water and draw one continuous, concave bead along the joint. Either way, I re-wet my tool frequently and wipe excess caulk with paper towels. These bathroom caulking techniques prevent mold and deliver professional results.
Tape Removal and Cleanup
The moment after you’ve laid down that perfect bead of caulk is pivotal—and honestly, it’s where I used to mess things up most. Right now’s your chance to get it right, so don’t skip the cleanup phase.
Here’s what I do:
- Peel the painter’s tape immediately while the caulk’s still workable, preventing that jagged, unprofessional look I used to get
- Wipe excess caulk with paper towels before it hardens, keeping your finished edge clean and gap-free
- Trim any rough spots by carefully working with a damp finger along the caulk bead for that uniform, concave profile
The edge clean-up matters because it’s what people actually see. I trim the nozzle at 45 degrees for tight spots, work small sections, then allow proper curing time—usually 24–48 hours. Patience here prevents moisture damage and keeps your bathroom looking sharp.
Curing Time: When You Can Shower Again
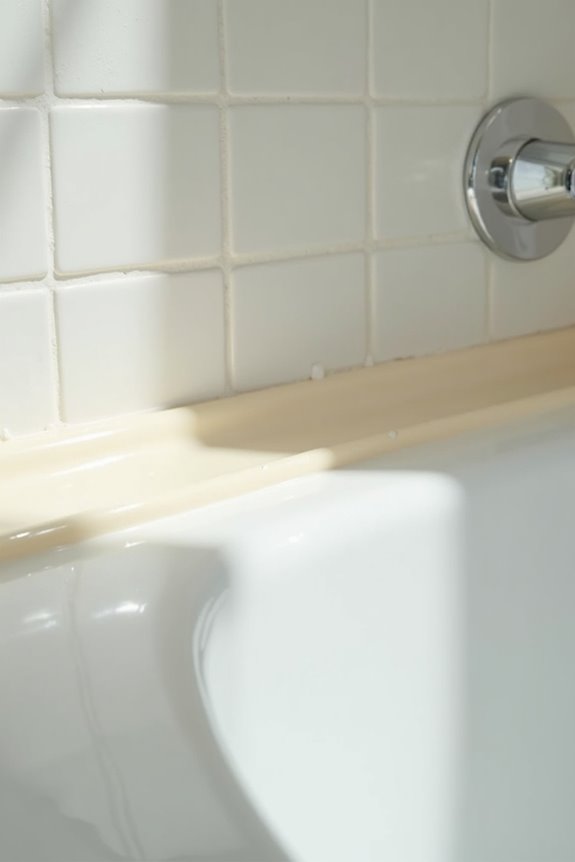
Once you’ve laid down that perfect bead of caulk, patience becomes your best friend—and I know waiting isn’t fun. Here’s the deal: your shower readiness depends on which silicone sealant you’ve chosen. Quick-curing bathroom caulk might be water-ready in 30 minutes to 2 hours, while traditional varieties need 24–48 hours. I always check the manufacturer label first because jumping in early risks washing away your hard work.
Here’s my honest tip: don’t rush it. Full cure time guidelines typically run 24–48 hours, and that’s when you get an airtight seal. Ventilation and humidity impact everything, so I crack windows and avoid steamy conditions during curing. Delaying water exposure allows proper adhesion. Once fully cured, your bathroom’s watertight protection lasts years.
Keep It Sealed: Maintenance and Recaulking Schedule
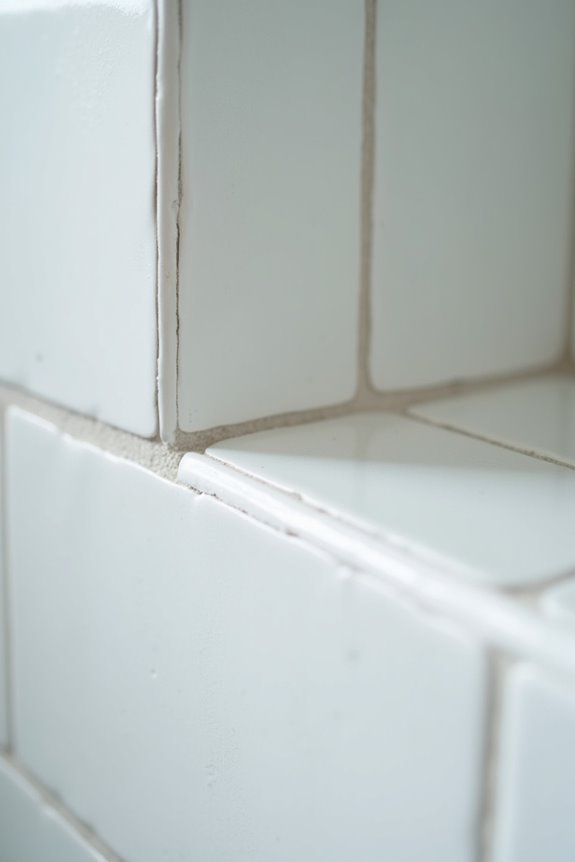
Now that your caulk’s fully cured and doing its job, here’s the reality: this material won’t last forever. I inspect my bathroom quarterly—checking around my tub, sink, and toilet bases for trouble signs. You’ll want to recaulk every 5–10 years, or sooner if you spot cracks, gaps, or mold growth creeping in.
Here’s what I watch for:
- Peeling or discoloration that indicates moisture intrusion
- Dark mold spots signaling failed mold prevention
- Visible gaps where water can sneak through
When recaulking time arrives, I remove old caulk completely, prep surfaces thoroughly, and use 100% silicone sealant for lasting adhesion. I apply painter’s tape for crisp edges, then respect the cure time before showering. Staying ahead of maintenance keeps your bathroom sealant performing strong.